Have you experienced that scenario where you’re nestled in your RV at a breathtaking campsite, enjoying a stress-free vacation, when suddenly, a sinking feeling sets in – you’re unsure if your RV’s waste tanks are nearing capacity. Inaccurate or malfunctioning RV tank sensors can turn a relaxing getaway into a messy scramble.
The good news? With proper maintenance and cleaning, you can ensure your RV tank sensors function optimally, providing you with peace of mind and avoiding unpleasant surprises on the road.
Here’s a guide to keeping your RV tank sensors in top shape:
Understanding Your RV Tank Sensors
There are two main types of RV tank sensors:
- Internal sensors: These sensors are located inside the waste tanks and measure the liquid level directly. However, they can be prone to malfunction due to buildup and debris.
- External sensors: These sensors are mounted on the outside of the tank and use ultrasound or capacitance to estimate the tank’s fullness. They are generally less susceptible to clogging but might require calibration for accuracy.
Knowing the type of sensors your RV has will help you determine the best cleaning methods.
The Key to Serenity: Maintaining Your RV Tank Sensors
While the specific maintenance routine might vary depending on your RV’s make and model, here are some general tips to keep your RV tank sensors in top shape:
- Regular Cleaning: This is the cornerstone of RV tank sensor maintenance. After every few camping trips, or once a month during regular use, perform a thorough tank cleaning routine. This involves adding a tank treatment product specifically designed for cleaning RV tanks. These products help break down waste and prevent buildup on the sensors. Tip: Follow the instructions on the specific tank treatment product you choose.
- The Power of Prevention: Beyond regular cleaning, consider using a tank sensor protector. These are small mesh filters that attach to the sensor itself, preventing debris from directly clogging it.
- Fresh Water Flush: After emptying your tanks, perform a freshwater flush. This helps rinse out any leftover residue and prevents buildup on the sensors. You can use a dedicated tank flushing system or simply fill your freshwater tank and slowly release water down the drain until it runs clear.
- Visual Inspection: When possible, visually inspect your RV tank sensors for any signs of damage or corrosion. If you notice any issues, consult a qualified RV technician for repairs or replacements.
Upgrading for Enhanced Monitoring
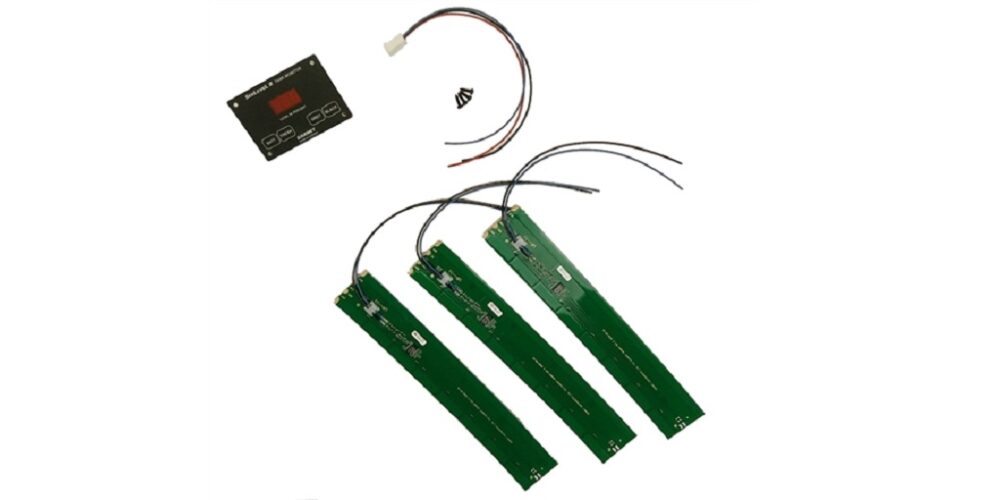
If you’re experiencing persistent problems with your RV tank sensors, consider upgrading your system. Advanced tank monitoring systems like the Garnet 709-P3 SeeLevel II Tank Monitoring System offer several advantages:
- Detailed Readouts: These systems display tank levels as a percentage, providing a more precise picture of remaining capacity compared to basic “full” or “empty” indicators.
- Advanced Monitoring: Some systems monitor additional factors like battery voltage, giving you a holistic view of your RV’s health.
- External Sensors: Upgrading to an external sensor system like the SeeLevel II avoids potential issues caused by internal sensor malfunction or buildup.
Don’t Let Tank Troubles Spoil Your Adventure
By following these simple maintenance tips and considering an upgrade if needed, you can ensure your RV tank sensors function optimally, preventing unpleasant surprises and allowing you to focus on creating lasting memories on the open road. After all, the journey is all about enjoying the freedom and adventure, not worrying about tank troubles.
So, pack your bags, stock up on supplies, and get ready to hit the road with confidence! For all your RV tank sensor needs and maintenance supplies, visit RVupgrades today and explore their wide selection of products designed to keep your RV running smoothly.

