Forget the battle between different rail systems, tactical rifle light mounts, and tactical lights themselves for a minute. Whether you need one, what features it should offer, and what type of handguard you should use are all great topics – and topics of other articles.
This one is about where and how you need to attach your rail-mounted tactical flashlight.
Many tactical rifle light mounts give you the ability to mount the light where you want on the handguard (or to any rail surface). They even let you mount the light at the 12 o’clock or 6 o’clock positions if you should so choose.
However, most shooters tend to mount their lighters at the right or left of their gun.
But which is better? Let’s take a closer look at the advantages and disadvantages of each.
Advantages of Mounting on the Right (3 o’clock)
Mounting the rifle light at the 3 o’clock position, at the right of the firearm, puts it at the “outside” of the rifle for right-handed shooters.
There are some good reasons for mounting a tactical light in this position and orientation. Chiefly, mounting it at the outside of the rifle will keep the light from snagging on your pack or gear when you bring the rifle close to your body or carry it from a sling.
Depending on how you grip the handguard, or what other grips are present, you also might find an “outside” mount more ergonomic.
However, one drawback is that with the light at the outside of the platform, it makes the rifle a bit wider when you’re trying to clear obstacles, and sticks out at an angle when you’re rounding a corner. It will also attract brush and branches when you’re in the field.
Advantages of Mounting on the Left (9 o’clock)
For right-handed shooters, mounting a tactical light at the 9 o’clock position puts it on the “inside” of the platform.
This will still change the overall width of the rifle, but the rifle will feel slimmer because nothing will be sticking off the far side of the rifle. While this configuration may feel cumbersome to you when you bring the rifle close to your body, it has a few different advantages.
One of the best defenses for this configuration is that mounting the light in this attitude will help prevent brush or other obstacles from hanging up on the outside of the rifle or otherwise impeding your progress. Some shooters may also find access to the tail cap button or remote pressure switch easier when on this side of the rifle.
Offset May Be Better Than Both
However, there is one more common alternative to both the right and left-handed gun flash light configurations mentioned above: offset mounting.
Offset mounting still puts the tactical light either on the left or right side of the gun, but it staggers the orientation. For example, instead of being mounted at 3 o’clock on the right side of the rifle, it might take a 1:30 position; on the other side of the handguard, at 10:30 instead of 9.
The same benefits come with offset (with respect to what side you’ve mounted the light on) that come with standard configurations.
However, offset weapon-mounted lights create a slimmer overall rifle silhouette because the light will not be protruding from the rail at a right angle. Also, in some instances, offset mounting protects the light better from the muzzle blast – but this will also be affected by how far forward you mount the light.
Where Can I Get Versatile Tactical Rifle Light Mounts?
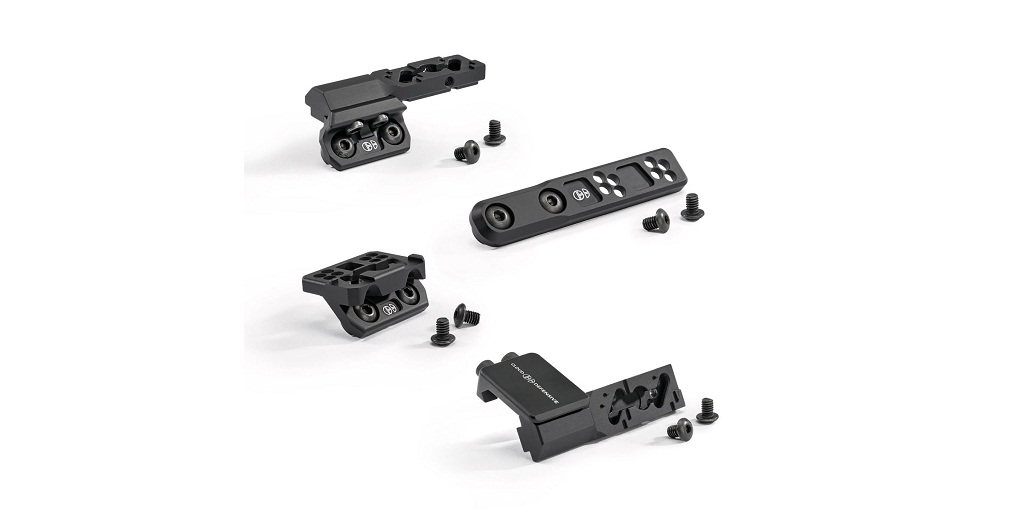
We suggest you check out the Torrent Light Mounts, available online at Cloud Defensive (CloudDefensive.com).
They’re compatible with Cloud Defensive’s REIN and REIN Micro as well as with the Surefire M300 and M600 Scout Lights (Except the M600 AA), and most other weapon lights that have the same mount style as Scout Lights.
There are Torrent Mounts that are capable of left and right mounts as well as offset mounts. They are also compatible with M-LOK and Picatinny rail handguards.
Interested in these fun accessories? Visit CloudDefensive.com or contact them at Support@CloudDefensive.com.