
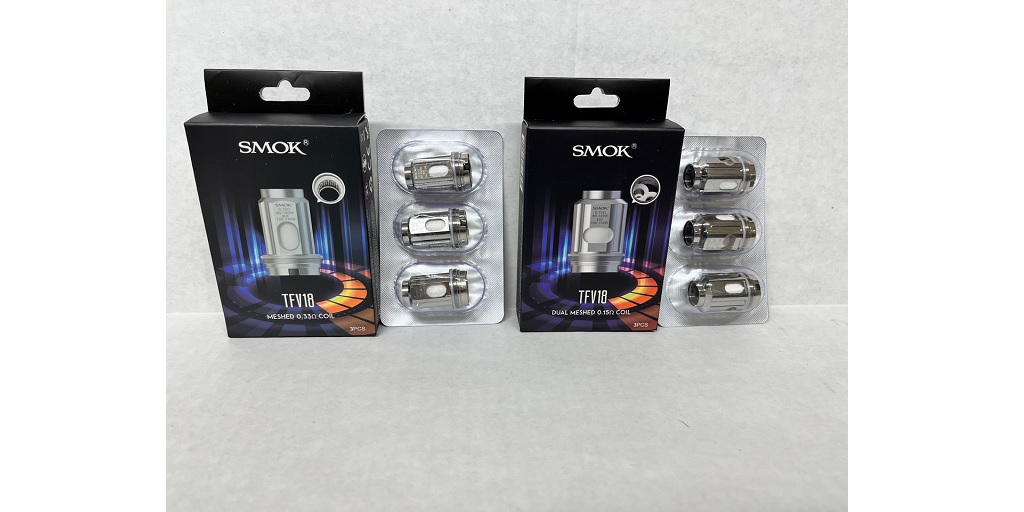
Vape coils are a crucial component of your vaping device, directly impacting the quality of your vaping experience. Over time, coils degrade, leading to changes in flavor, vapor production, and overall performance. Knowing when and how to replace your vape coils is essential to maintaining a satisfying vape. This guide will walk you through the process, offering tips on when to replace your coils, how to do it correctly, and how to extend their lifespan.
What Are Vape Coils?
Before diving into the replacement process, it’s important to understand what vape coils are and how they work. A vape coil is a small wire or set of wires wrapped around a wick, usually made of cotton. When you press the fire button on your vape device, the coil heats up, vaporizing the e-liquid absorbed by the wick. This vapor is what you inhale when vaping.
Coils come in various materials (like Kanthal, stainless steel, and nickel) and resistances, depending on the type of vaping device you use. Over time, the coil’s wire can burn out, or the wick can become clogged with residue, necessitating a replacement. Recognizing when your vape coils need replacing is key to ensuring a consistent and enjoyable vaping experience.
How to Replace Your Vape Coils
Replacing your vape coils is a straightforward process, but it requires attention to detail to ensure you do it correctly. Here’s a step-by-step guide:
Step 1: Disassemble Your Tank
Start by removing your tank from the battery or mod. Unscrew the base of the tank to access the coil. Depending on your device, the coil may be screwed into the base or simply press-fitted.
Step 2: Remove the Old Coil
If the coil is screwed in, unscrew it carefully. If it’s a press-fit coil, gently pull it out. Be careful not to spill any e-liquid that might still be in the tank.
Step 3: Prime the New Coil
Before installing the new coil, it’s important to prime it. This involves applying a few drops of e-liquid directly onto the exposed cotton wicking material. Priming helps saturate the wick and prevents burning when you first use the coil.
Step 4: Install the New Coil
Once primed, insert the new coil into the tank base. If it’s a screw-in coil, tighten it just enough to secure it without over-tightening. If it’s a press-fit coil, push it in until it fits snugly.
Step 5: Reassemble the Tank
After the new coil is in place, reassemble your tank by screwing the base back onto the rest of the tank. Fill the tank with your favorite e-liquid, being careful not to overfill.
Step 6: Let the Coil Soak
Once your tank is reassembled and filled, allow the coil to soak in the e-liquid for about 5-10 minutes. This ensures that the wick is fully saturated, reducing the risk of burning the cotton when you start vaping.
Step 7: Start Vaping
After the coil has soaked, attach the tank to your device, set your preferred wattage (if applicable), and take a few short puffs to help the coil break in. Gradually increase your puff length as you continue to vape.
Replacing your vape coils is a necessary part of maintaining your vaping device and ensuring a top-notch vaping experience. By recognizing the signs of a worn-out coil, following proper replacement procedures, and taking steps to extend the life of your coils, you can enjoy better flavor, more vapor, and a smoother vape. Regular coil maintenance is a small investment of time that pays off with a consistently satisfying vape.
