
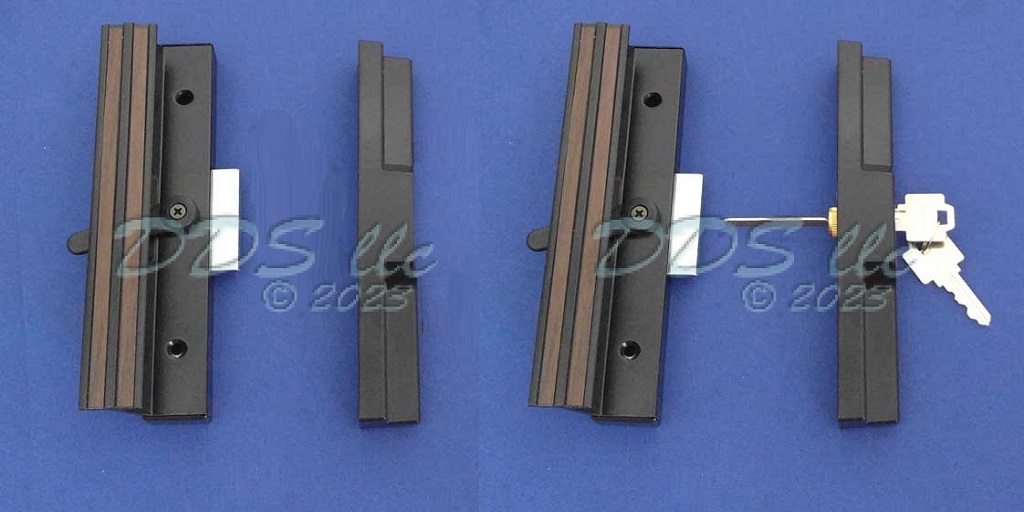
Installing a new sliding door handle with a lock is a straightforward process, but can be somewhat intimidating if you have never attempted it before.
Whether you’re replacing an existing handle out of necessity or are installing a new one just to ensure your sliding door is modernized, this general step-by-step guide will walk you through the high-level installation process, helping to ensure a smooth and secure fit for your sliding door.
1. Gather the Necessary Tools and Materials:
Before you begin, gather the tools and materials you’ll need for the installation:
● Sliding door handle with a lock
● Screwdriver (Phillips or flathead, depending on the screws)
● Measuring tape
● Pencil
● Drill (if required)
● Screws (usually provided with the handle)
Where to Get a Sliding Door Handle with a Lock
If you’re looking for quality sliding door handles in a variety of sizes and styles from top brands, look no further than Window and Door Parts. They specialize in having everything you need to elevate your patio, giving it the perfect balance of durability, style, and functionality.
2. Measure and Mark the Placement:
Using a measuring tape, determine the ideal placement for the handle on the sliding door. Typically, the handle should be installed at a comfortable height for easy access. Mark the locations for the screws using a pencil.
3. Remove the Existing Handle (If Applicable):
If you’re replacing an existing handle, start by removing it from the door. Use a screwdriver to loosen and remove the screws securing the old handle in place. Once the screws are removed, carefully pull the handle away from the door.
4. Prepare the New Handle for Installation:
Before installing the new handle, ensure that all components are included and in good condition. Familiarize yourself with the handle’s locking mechanism and any additional features it may have.
5. Align the Handle with the Screw Holes:
Position the new handle over the marked screw holes on the sliding door. Ensure that the handle is aligned properly and sits flush against the surface of the door.
6. Secure the Handle in Place:
Using a screwdriver, insert the screws provided with the handle into the pre-drilled holes. Tighten the screws securely to ensure that the handle is firmly attached to the door. Be careful not to over-tighten the screws, as this may strip the threads or damage the handle.
7. Test the Locking Mechanism:
Once the handle is securely installed, test the locking mechanism to ensure that it functions properly. Insert the key (if applicable) and turn it to engage the lock. Verify that the lock securely latches and unlocks with ease.
8. Adjust and Fine-Tune (If Necessary):
If the handle feels loose or the lock is not functioning correctly, make any necessary adjustments. Tighten or loosen the screws as needed to achieve the desired fit and functionality.
9. Add Finishing Touches:
Once the handle is installed and functioning correctly, take a moment to inspect the door and handle for any imperfections or loose components. Make any final adjustments as needed and clean any fingerprints or smudges from the surface of the handle.
10. Enjoy Your Newly Installed Sliding Door Handle with Lock:
With the installation complete, you can now enjoy the added security and convenience of your sliding door handle with a lock. Rest assured that your sliding door is now equipped with a reliable locking mechanism to keep your home safe and secure.
Installing a sliding door handle with a lock is a simple and rewarding DIY project that can enhance the look and functionality of your patio. By following these step-by-step instructions and taking the time to ensure proper alignment and installation, you can enjoy peace of mind knowing that your sliding door is equipped with a reliable locking mechanism.
